
We all know how important our eyebrows are. They balance the face by framing the features, so when they alter, the face’s balance is thrown off, and the result can be striking. In this article, I’ll go over some of the most crucial eyebrow tips, strategies, methods, and steps for sculpting your perfect brows.
The perfect brow shape can give you a royal appearance while also emphasizing your facial characteristics. Are you aware that your brow shape is influenced by your facial shape? You might be shocked to learn that the form of your face influences how elegant your brows appear, and vice versa. Once you’ve mastered the shapes, you’ll be able to show off your Perfect brows in elegance.
Before you start grooming your brows, make sure you understand the various brow shapes and which ones would be best for you. The golden guideline is to have a brow shape that is the polar opposite of your facial shape.
BROW SHAPES

ROUNDED
Rounded perfect brows follow the natural curvature of the eye and do not flare upward. Only the top of the brow appears rounder, with a slightly bent arch. If you have a lot of hard angles on your face, a really square jawline, or a pointier chin or nose, round brows are a good choice. Any angular characteristics can be balanced out with these softer brows.
STRAIGHT
Straight perfect brows bring the gaze inward into the center of the face, in addition to framing the face.
S-SHAPED

The initial row of hair along the inner section of the brow, as well as the first layer on the top of the tail, are removed for this brow shape. The middle section should be left alone. There’s a sort of dip in the front thus the S-shape, which looks like a scooped out brow. It isn’t usually a natural shape.
ARCHED
A rounded brow is the polar opposite of an arched brow. It reaches a lifted peak at the highest point and provides definition to your face-flattering individuals with softer, rounder features in particular. It increases the amount of geometry in your face. There’s a spectrum of sorts in the arched category as well: You have soft arches with only a tiny lift at the apex, and then you have a medium arch that adds to the intensity. This brings us to our next brow shape:
STEEP ARCH
The beauty of mile-high arches is that they can be achieved with any hair density, from sparse to thick. The apex of the arch has an aggressive peak.
FACE SHAPES
OVAL
Because oval face types are symmetrical, a soft angled brow shape is recommended to ensure that the brows begin and end at the same level.

LONG
The goal with this face shape is to make it appear shorter, so use a low arch, straight lengthened brow to give it more width.
ROUND
A high arch brow is appropriate for this face shape since it will make your round face appear longer.
V. TRIANGLE
Adding volume and fullness to the brows helps soften the features. Keep the arches low and curved, and avoid angling the brow’s tail downwards.
HEART
Because this face shape has the largest forehead and the most pointed chin, a slightly heavier brow is recommended to help balance these traits. It’s best to have a rounded arch and straighter brows.
RECTANGLE
Because a rectangular face might be lengthy but has a strong jawline, choose for larger, non-structured brow forms to minimize the size of the forehead. So gentle, with softly bent arches.
Three basic steps to grooming your brows once you’ve determined the shape of your perfect brows that best complements your facial shape:
STEP 1: TOOLS

First and foremost, you must have the correct equipment to groom your brows.
•Eyebrow Brush – To help brush the brow hairs up, down, and into place, use this tool.
•Tweezers- Pluck any undesirable or fine hairs with metal tweezers
•Grooming Scissors- Snip hairs.
STEP2: MAPPING OUT BROWS
Brow mapping is a technique for achieving symmetry between the two brows. Multiple measurements across your brows and eyes are taken to determine the most appealing and even shape for your face.

S1•
Mark three critical places along each brow with a brow pencil: the front, the arch, and the tail. Place the end of your pencil vertically from the dimple of your nose to the inner corner of your eye to determine the front, making a note of where the pencil crosses your brow.
S2•

To detect the arch, place your pencil from the nose dimple to the brow, but tilt it slightly diagonally so that it’s in line with the outer of the iris; here is where the arch should be the highest.
S3•
Tilt your pencil from the side of your nostril to the corner of your eye closest to your ear to determine where the tail of your brow should terminate. These three elements will assist you in determining your brow’s basic shape.
S4•
Use your brow pencil to connect these spots and outline the top of your brow. Then, along the bottom, draw the same form. To achieve symmetry and tidy up, tweeze any brow hairs that stray outside the lines.
STEP 3- TWEEZE
Pluck one row of hair from the nose to the arch to the temple on the bottom of the brows. To avoid ingrown hairs, always pluck in the direction of hair growth. Then, at the top of the brow, pluck stray hairs to neaten up the brows.

Aside from the low-maintenance method of brow grooming, there are four more popular methods/ techniques to sculpt the perfect brows; filling in the brows, waxing, threading, and microblading are some of the options.
WAXING

This is an excellent choice if your brows are naturally thick, gritty, and unruly. The hair is removed straight from the follicle, leaving you with a distinct arch.
Here’s How it’s done;
Warm wax is applied thinly to the hairs to be removed with a wooden spatula, then a paper strip is placed immediately over the waxed region, light pressure is used to ensure the waxed hairs stick to the paper, and the paper is quickly taken away, taking the hairs out directly from the root. With this procedure, the regrowth is softer and thinner.
THREADING

After sanitizing the skin for preparation, an in-depth consultation is conducted to guarantee that the desired shape and thickness are obtained. Skin is held taut for support with eyes closed. A mini-lasso is created by twisting a piece of thread that has been specifically coated with anti-bacterial wax in the hands of the professional, which removes the hairs rapidly and directly from the follicles. The motion may produce little discomfort depending on your pain tolerance, but no skin-irritating chemicals are employed in the procedure.
MICROBLADING

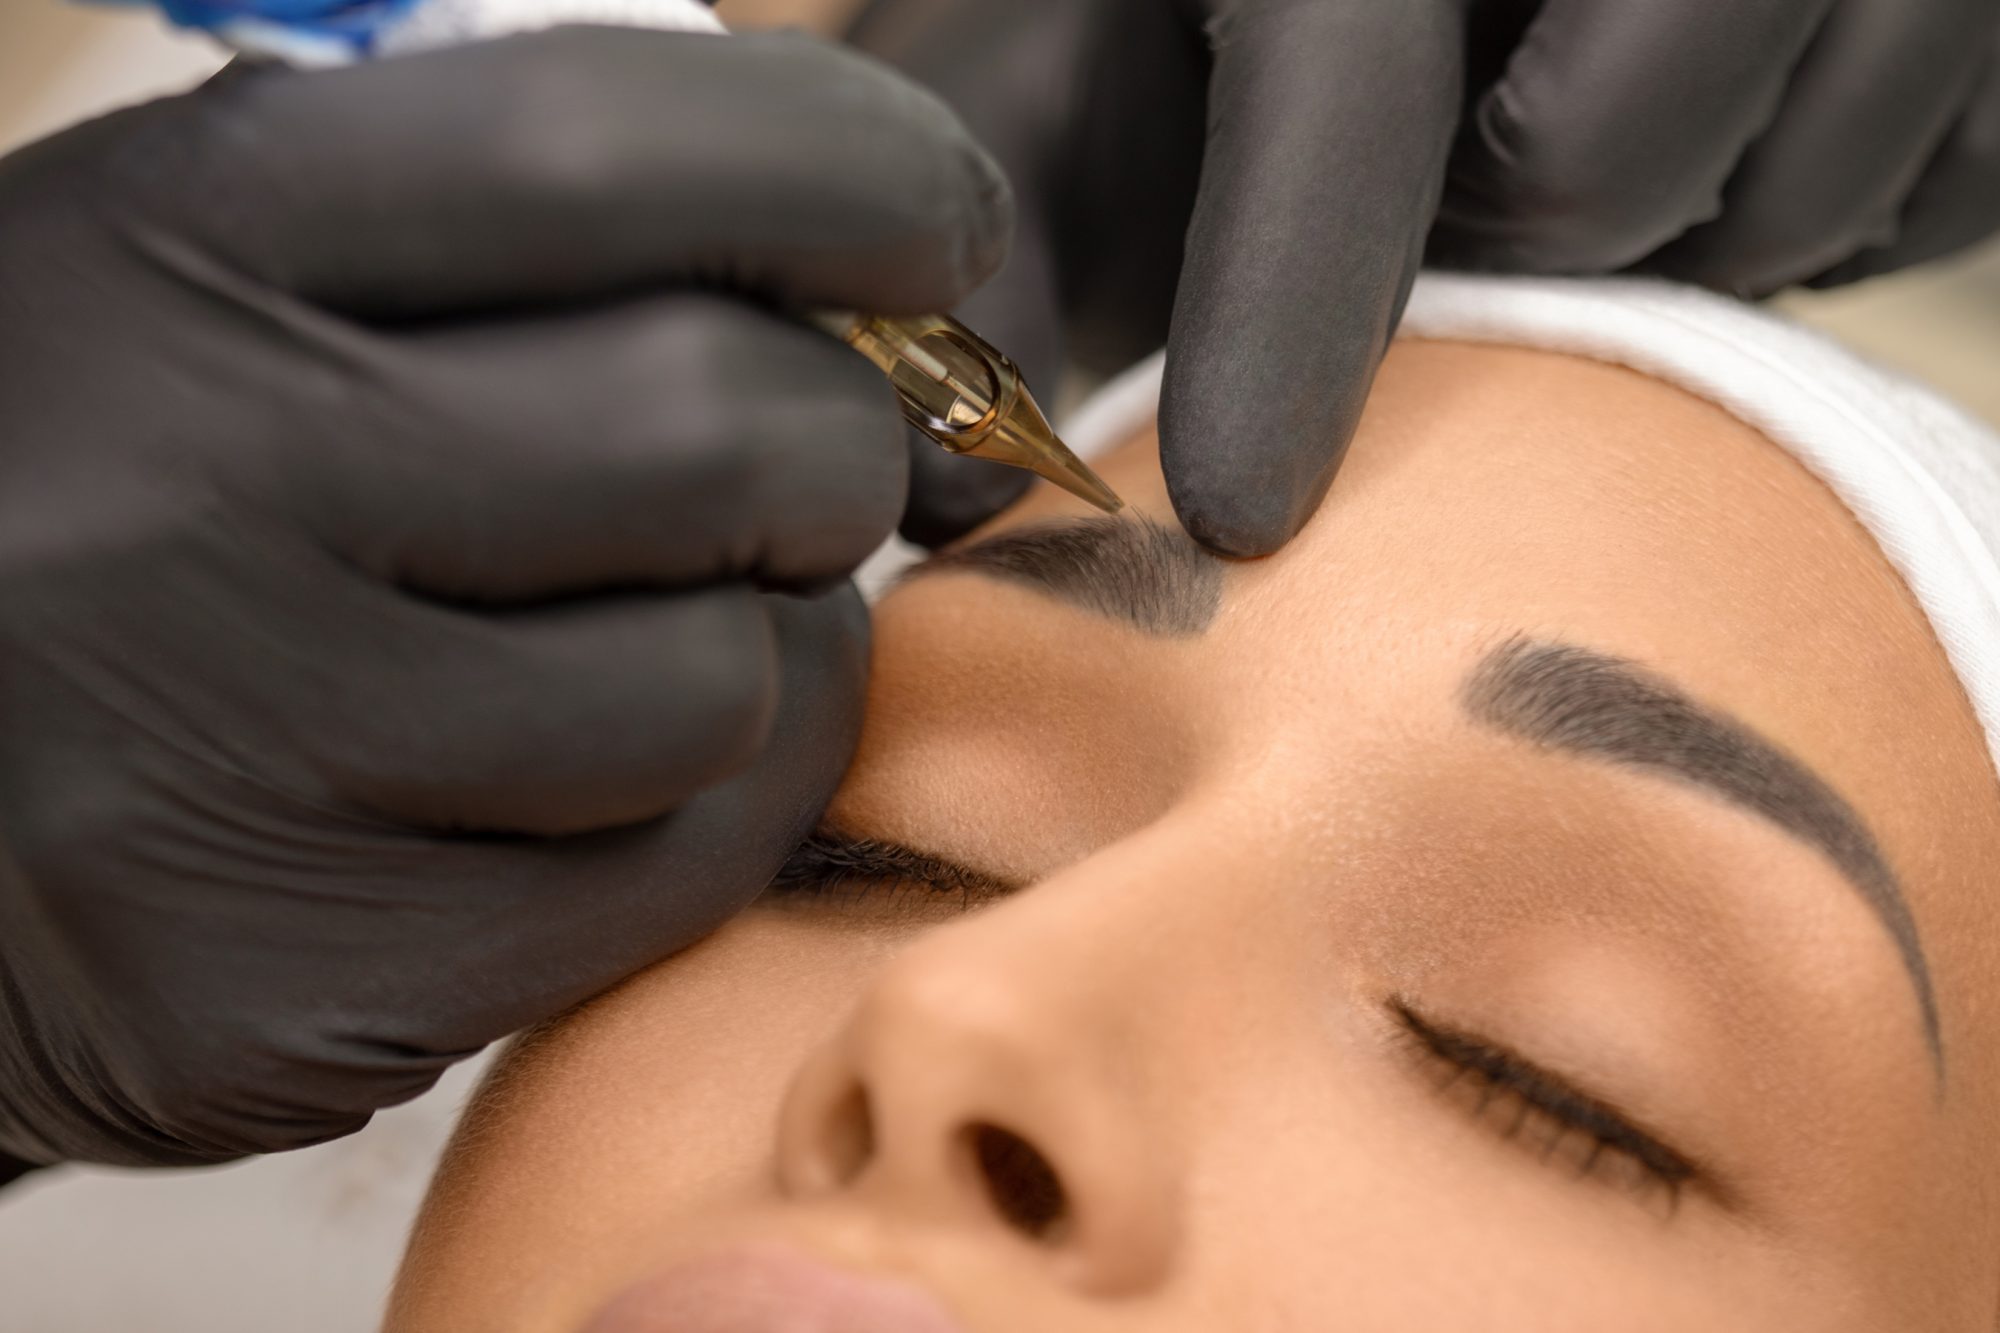
This semi-permanent option differs from traditional brow tattooing in that individual hairs are drawn on with a special pen. It may take a few hours because a personalized shape is drawn onto your skin. The results can last up to three years. Clients are given numbing cream prior to the procedure and soothing remedies thereafter to reduce pain.
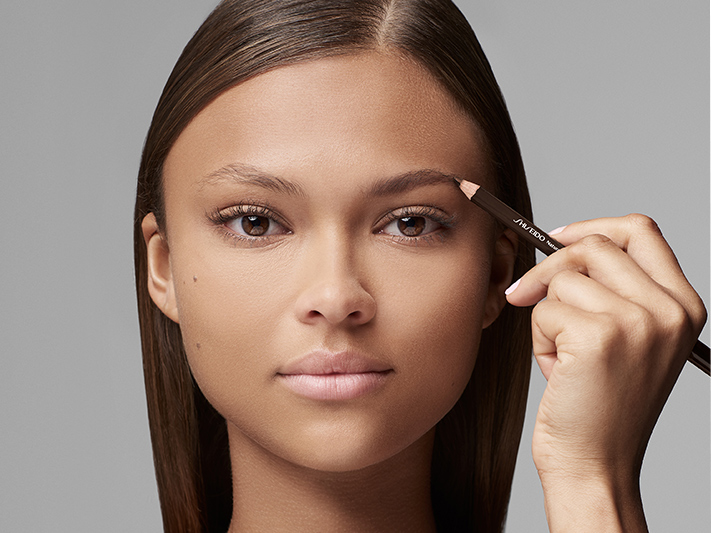
FILLING IN THE BROWS
Filling in your brows is one of those cosmetic processes where a little work goes a long way in making even the most unruly brow look lush, arched, and stunning.
You’ll need;
Concealer
Concealer Brush
Brow Brush/Spoolie
Brow Pencil
Foundation
Brow Pomade
STEP 1
Brush the hairs on your brows up with a spoolie brush to see where you want to fill them in. Then use your eyebrow pencil to draw an outline for each brow. Begin by softly tracing the natural shape of your brows from the bottom, then repeat for the top. For a more natural brow contour, start a little more away from the brow’s beginning.

STEP 2
Fill in the brows you outlined with your brow pencil. Use soft, brief strokes to resemble that of natural hair.
STEP 3
Using the spoolie brush, gently integrate the pencil strokes with the natural brow hairs by brushing upwards and outwards through the brow once more.
STEP 4

With your concealer brush, trace the outline of your brows with concealer, blending it thoroughly for clean edges and a uniform finish. Then do the same for the top of your brows but using foundation.
PRO TIP: For a more flawless look, tidy up the top of the brows with your skin foundation tone rather than concealer
STEP 5
Finish up by adding pomade for a more sleek finish, I love this look!. Be sure to go back in with spoolie and brush gently.
“Perfect brows aren’t something you’re born with; they’re sculpted!”
Photo Credits: PINTEREST
Check Out My Blogs: https://fashonation.com/members/be-you_trendy868/blog/
Start Blogging: https://fashonation.com/
Local SEO Services: https://marketprosdigital.com/
Recommended3 recommendationsPublished in Makeup
