The summer breeze is in the air, but what summer is complete without a manicure and pedicure? If you enjoy getting your nails done and prefer something cute but simple, read this article where I reveal some simple nail art designs that everyone may try this summer.
Not everyone prefers to wear their natural nails with basic nail designs; most of us, including myself, follow the acrylic nail trend these days. But, even if I do, I recognize the importance of occasionally removing the acrylic from the natural nails and giving them a break. While so, I typically give myself a basic manicure and polish my natural nails a cute color, and make do some simple nail art designs while on these small breaks, giving the impression that my nails were done by a professional.
I used to wonder whether there was anything else I could have done with my natural nails other than a flat lacquer. So, even though I’m only listing four basic nail art designs in this article since they’re the ones I think are really nice, simple, cute, and summery, and I’ve tried them, there are a lot more simple nail art designs out there. If you want to expand your imagination beyond the four simple nail art designs I’m about to mention, do a Google search trust me you’ll want to try them all.
For the time being, I’ll save you some time by sharing my personal top four nail art designs with you. If you’re looking for simple nail art designs, and by the way, I’d consider this beginner-friendly as well because they’re so beautiful yet so simple that even a novice can recreate them, and of course, they can be your perfect summer manicure.
4 Simple Nail Art Designs For Summer
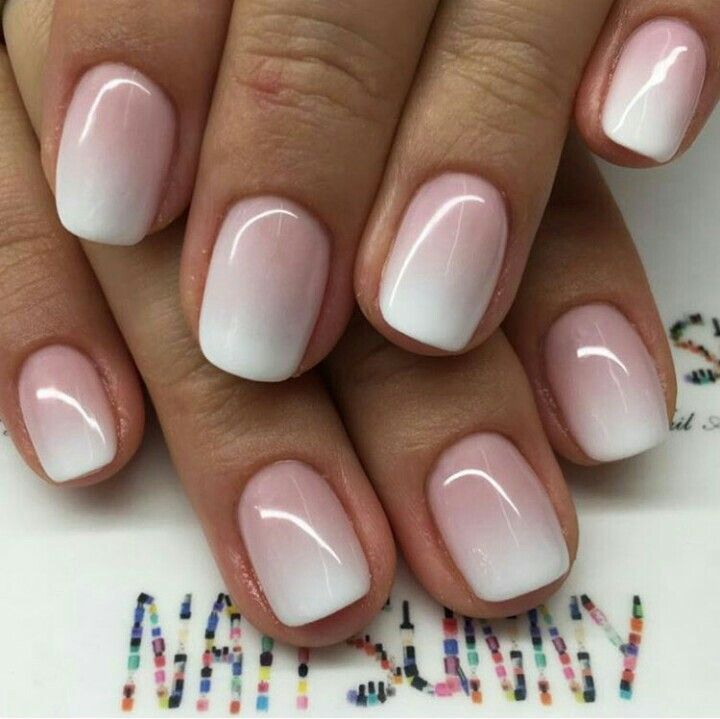
1) Simple Nail Art Designs- Ombre Nails
This was my first nail art design, ombre nails; this technique is more of a color gradient, and I can assure you that ombre nails will be your new summer manicure fad! Yes, they look wonderful on an acrylic nail set, but they look even better on natural nails, and you don’t have to pick just one color; you may use many at once, making your simple nail art design manicure even more exciting.
HOW TO DO OMBRE NAILS
What You Need

- Basecoat
- White nail polish
- Other nail polish/polishes of choice
- Liquid latex tape
- Nail polish remover
- A small brush or a Q-tip
- Disposable makeup sponge
- Topcoat
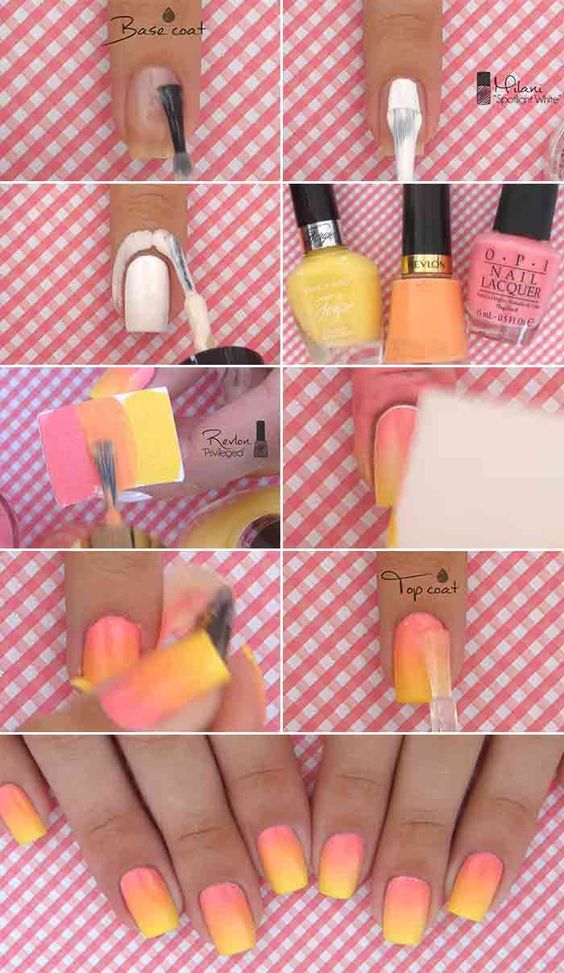
Steps
- Apply the base coat to protect your nails and let them dry
- Apply white nail polish. Using a white polish first would make the colors you chose more vibrant.
- Apply the liquid latex tape around your nails. It protects the skin from the mess and peels off easily. Wait for it to dry.
- On your disposable makeup sponge tip layer a generous amount of the white polish you have used as your first color and then followed by adding the other colors you chose to create a gradient effect.
- Hold the sponge and dab it onto your nails.
- For more color intensity layer some more nail polish on the sponge and stamp it over your nails, Let it dry before moving on to the next step.
- Peel off the liquid latex tape.
- Apply the topcoat to smooth out any texture and give your nails a shiny look.
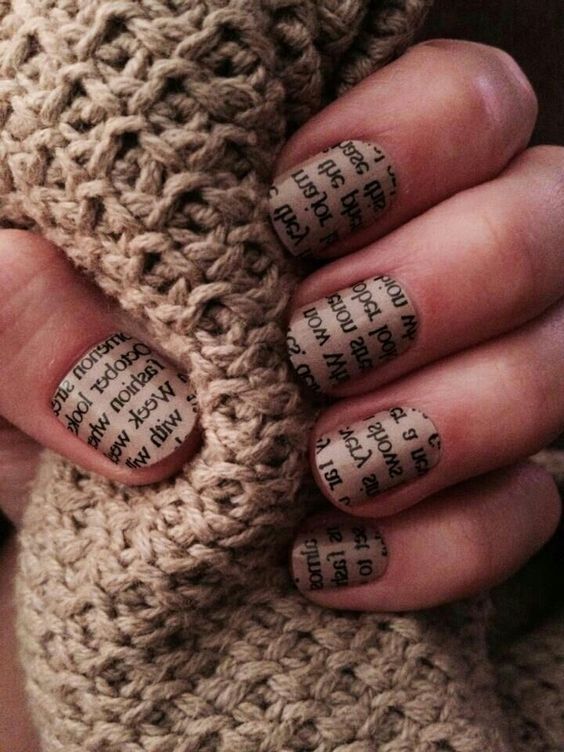
2) Simple Nail Art Designs- Newspaper Nails
When I first saw this, I thought to myself, “Wow, who came up with this brilliant concept of putting newspaper into a manicure design?” This is arguably one of the most popular but also one of the most simple nail art designs to try. So, what do you think?
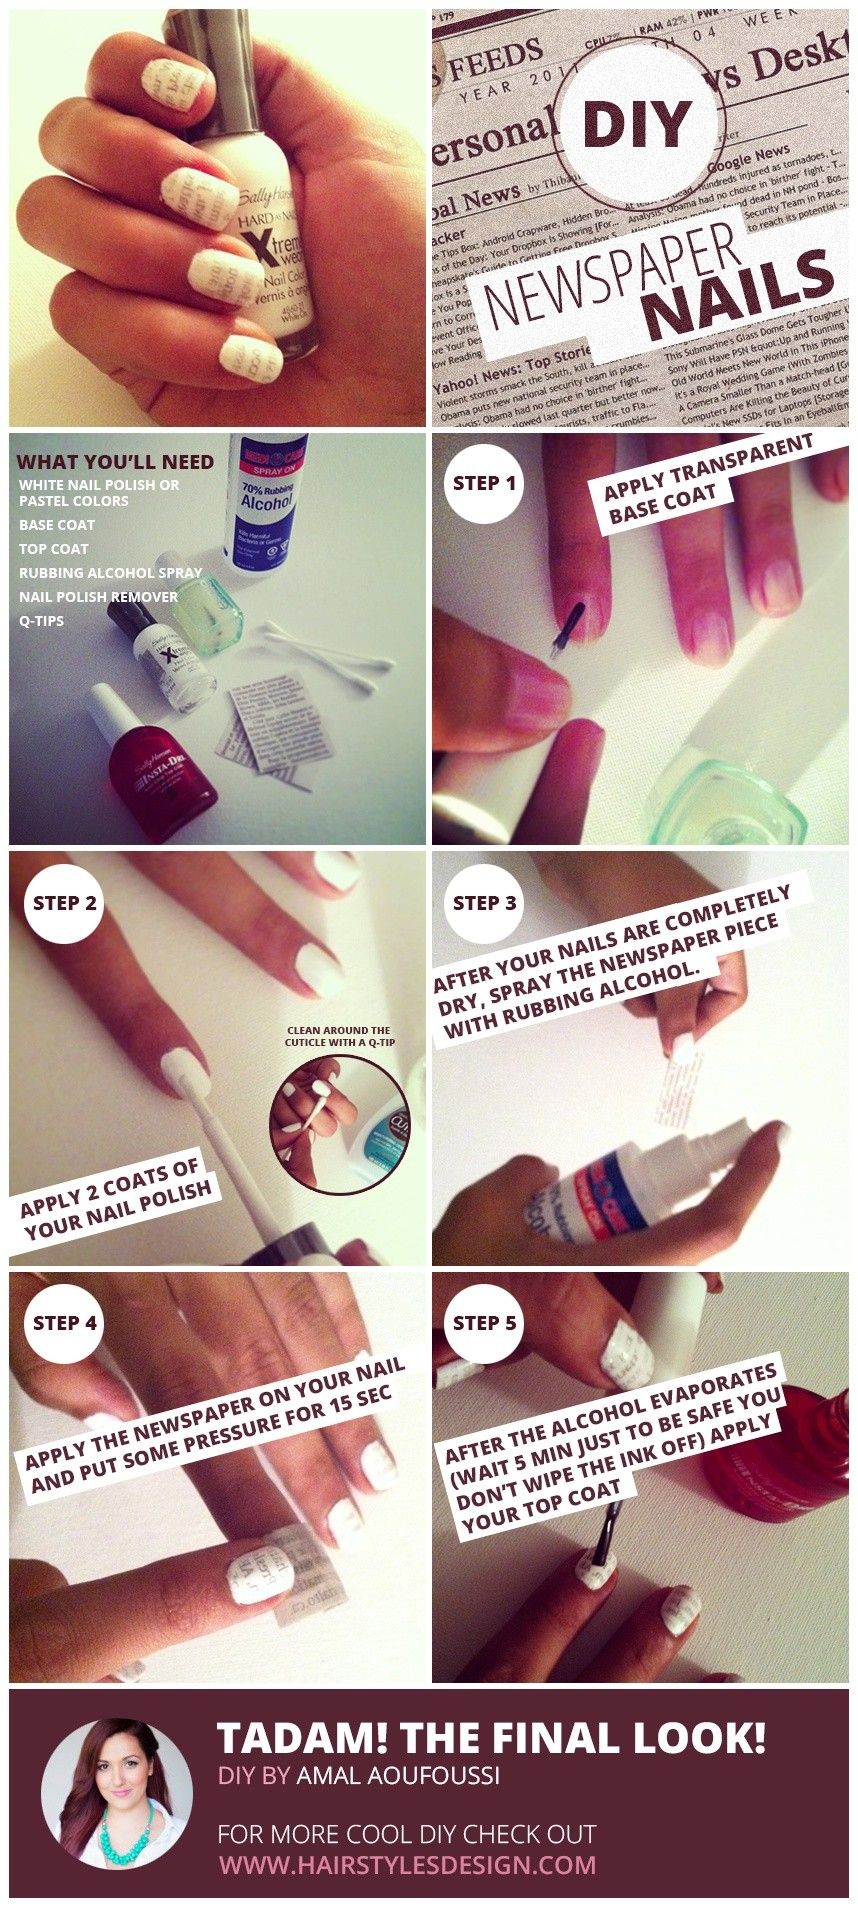
HOW TO DO NEWSPAPER NAILS
What You Need
- Basecoat
- Nail polish of choice
- Rubbing alcohol
- Strips of newspaper
- Topcoat
Steps
- Starting on fresh nails apply base coat and let dry.
- Apply at least two coats of the color you’ve chosen and level to dry thoroughly. P.S The lighter the nail color you choose the better as a lighter nail polish color helps the print to show up. So you can go for colors like white, pale pink, bright orange/green, nude, or even grey.
- In a small bowl place a bit of rubbing alcohol, dip the newspaper strips in the bowl, and then place it on the nails and press firmly for about 10-15 seconds.
- Lightly then peel back the paper and the words should be printed on the nails. Repeat for all the nails and leave to settle for about 2-3 minutes.
- After the 3 minutes, the ink should be dried so you can then apply your topcoat.
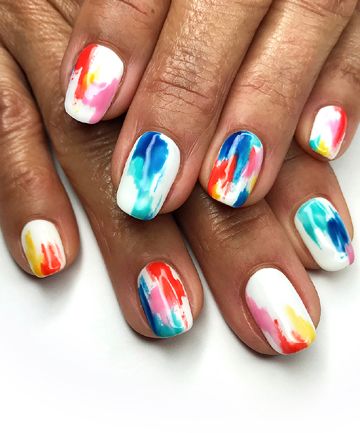
Simple Nail Art Designs- Watercolor Nails

Looking at them, you’d assume they’d be difficult to complete and would necessitate some level of knowledge. But keep in mind that this article is solely about simple nail art designs. All it takes is a little creativity and care to produce a truly stunning nail art design. Watercolor nail art isn’t as difficult as you would think. All you need to know is the basic how-to technique, and you’ll be a pro in no time.
HOW TO DO WATERCOLOR NAILS
What You Need

- BaseCoat
- Base color (White or Nudes Preferably)
- 3-4 Nail polish colors
- Precise art brush
- Plastic Palette
- Acetone/ Nail polish remover
- Topcoat
Steps
- Apply a layer of base coat polish and let dry.
- Apply two coats of white polish, Be sure to allow time for those two coats to dry.
- On a plastic palette, drip a few drops of the 3 or 4-color nail polish you have chosen. P.S Using pastel colors works really well, especially when doing the watercolor nail art.
- Then, grab an old shot glass and pour out some acetone.
- Using your art brush, dip the tip into the acetone and then into a color on your palette to thin out the polish. Then, dab the polish onto your nail, one color at a time. Every time you need to pick up more polish on the brush, first dip it in the acetone so it doesn’t go on too opaque.
- Dip your brush back into the acetone and quickly dab it over your nail to diffuse the colors, giving you that watercolor finish.
- Finally, seal with a topcoat.
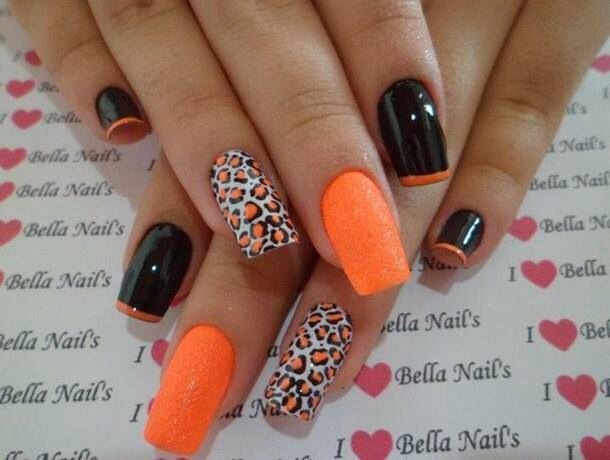
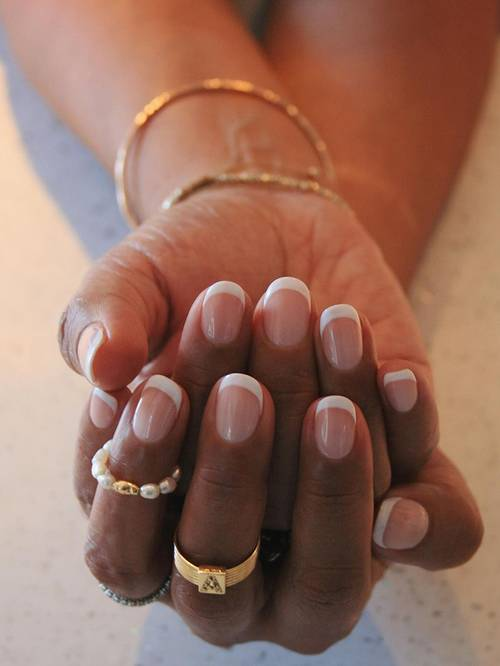
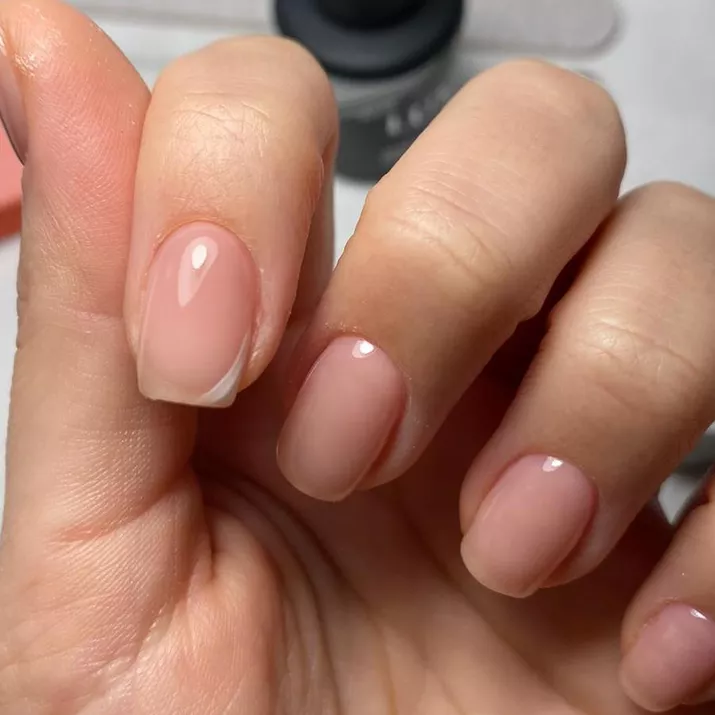
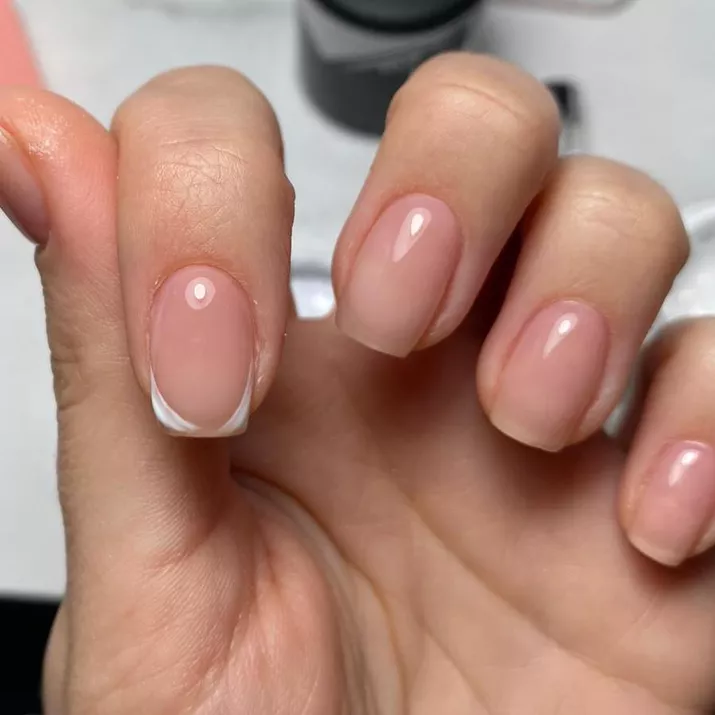
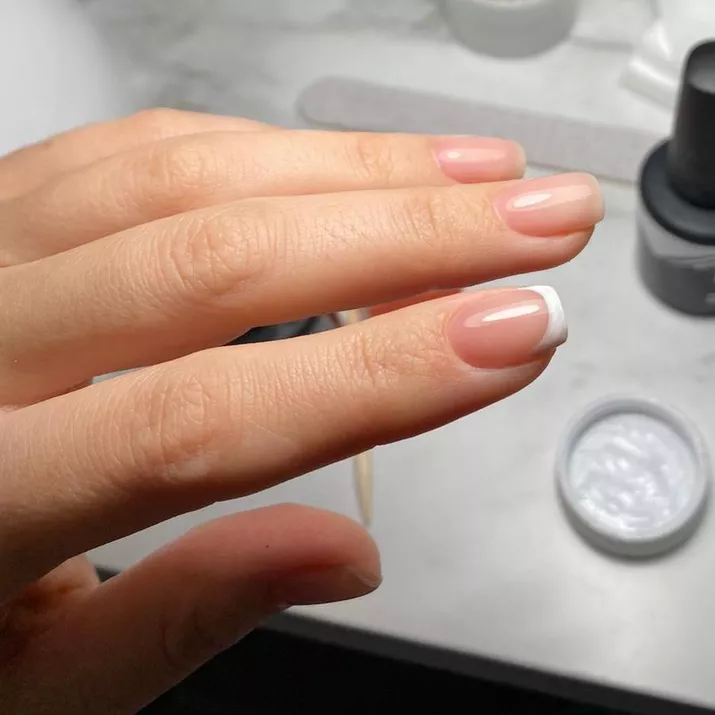
4) Simple Nail Art Designs- French Tip
A French manicure is the most basic to choose from yet the most traditional nail art of all time. While we’re always on the lookout for new manicure designs, colors, and textures, this simple nail art design is timeless and appropriate for any event and season.
HOW TO DO A FRENCH TIP DESIGN

What You Need
- Nail file
- Buffer
- Basecoat
- Base color ( Sheer pink or nudes)
- White nail polish
- Fine nail art brush
- Nail polish remover
- Topcoat
Steps
- Clean, File, Shape, and Buff the nails. This is a very important step when doing a french tip nail art design or any nails for that matter
- Apply base coat and let dry.
- Apply 1-2 coats of your base color
- Using your fine brush, start from points of growth and make a line as a “smile” towards the free edge from the left side and right side of the nail Then, get them together and provide a “smile” line on the free edge. P.S. If you want your nails to appear longer, let the polish curve with your natural nail.
- Clean up any stray polish with a Q-tip soaked in nail polish remover,
- Seal and set your at-home simple french nail art design manicure with a thin layer of a shiny topcoat.
PHOTO CREDITS: PINTEREST
Check Out My Latest Blog: https://fashonation.com/perfect-color-comboburnt-orange-royal-blue/
Check Out My Blogs: https://fashonation.com/members/be-you_trendy868/blog/
Start Blogging: https://fashonation.com/
Local SEO Services: https://marketprosdigital.com/
Follow Me On Pinterest: https://pin.it/3wtaw7z
Shop Using $1 Products With Referral link: https://www.shopmissa.com/?rfsn=6445339.5365716
Shop StansOut Beauty Co: https://stansoutbeauty.com/?sca_ref=1791777.t8LpG9AdjN
Start Earning With 5B: https://5billonsales.om/affiliate/beyondbeauty
Recommended7 recommendationsPublished in Uncategorized